inquiry
Leave Your Message

Top BGA Rework Station Tips for Successful PCB Repair?

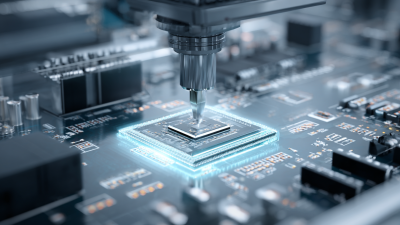
In the fast-evolving world of PCB repair, mastering the use of a BGA Rework Station is essential. Industry expert John Smith once stated, “Precision in repair is the key to longevity in electronics.” This emphasizes the importance of proper techniques and tools.

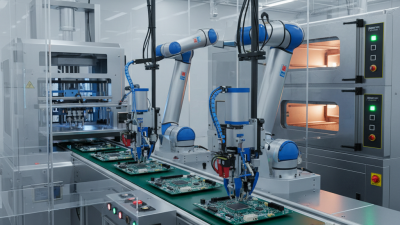
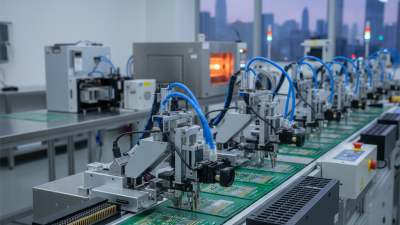
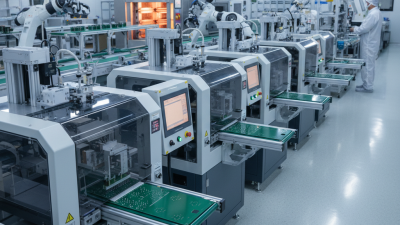
Using a BGA Rework Station can be challenging yet rewarding. Many technicians struggle with heat application and alignment. Mistakes often happen due to poor calibration or improper use of nozzles. Small errors can lead to significant damage. It’s critical to understand each component's role in achieving a successful repair.

Investing time in practice is crucial. Regular training will improve efficiency and accuracy. Yet, even seasoned professionals can find themselves facing unexpected challenges. Experimenting with different methods helps refine skills. Ultimately, perfecting the art of PCB repair opens up new opportunities in technology.

Top BGA Rework Station Tips for Successful PCB Repair?

Identifying Common BGA Issues in PCB Repair

Top BGA Rework Station Tips for Successful PCB Repair?

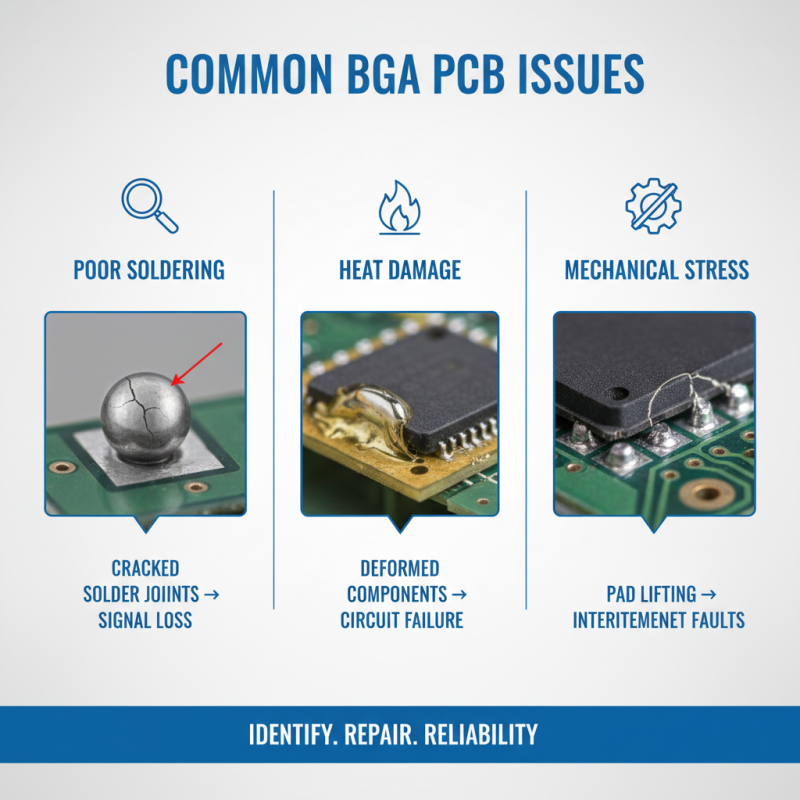
When repairing PCBs, identifying common BGA issues is crucial. BGA, or Ball Grid Array, can face various failures. These issues often stem from poor soldering, heat damage, or mechanical stress. A close inspection reveals cracked solder joints. These tiny imperfections can lead to significant signal loss and failure in the circuit.

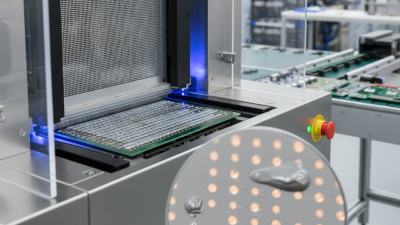
Thermal cycling can be another culprit. BGA components expand and contract with temperature changes. If the thermal profile during soldering is not optimal, it can create severe mechanical stresses. Sometimes, visual cues like discoloration appear on the board. These indicate potential heat damage. If you observe these signs, it's vital to address them immediately. Ignoring them can lead to repeated failures.

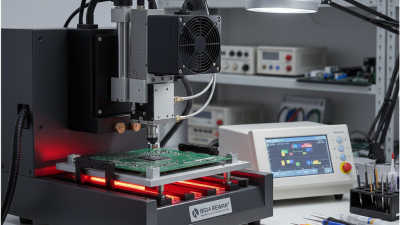
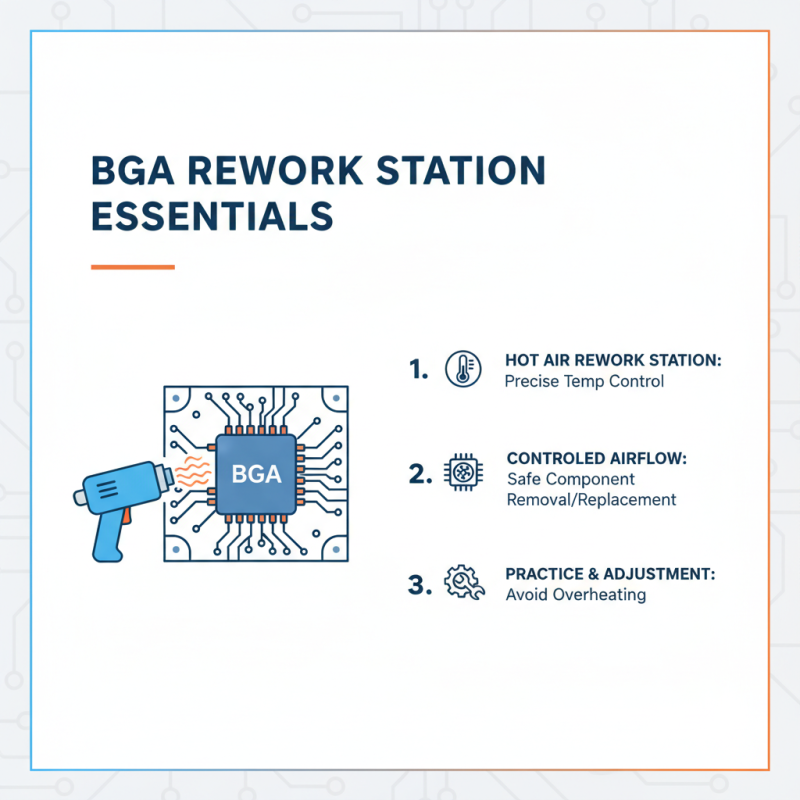
Rework stations should be equipped with precise tools. A hot air rework tool allows for controlled heat application. However, not every technician masters this technique. Mistakes happen. Solder might become too cold, leading to inadequate joint formation. This aspect requires continuous learning and practice. Accepting these imperfections in the rework process is the first step towards improvement.

Essential Tools for Effective BGA Rework Station Setup

Top BGA Rework Station Tips for Successful PCB Repair?

Setting up an effective BGA rework station requires a thoughtful selection of essential tools. First, a high-quality hot air rework station is crucial. It provides precise temperature control and airflow. This allows you to safely remove and replace BGA components on PCBs. A station that overheats can damage delicate parts. Adjusting settings can be tricky, and some practice is often needed.

You will also need a good set of solder paste and stencil applicators. These tools ensure even application of solder paste before reworking begins. A messy application can lead to poor solder joints. Working under a microscope helps, too. It allows you to see tiny details when aligning components. Good lighting is also essential. A dim workspace can lead to mistakes.

Lastly, consider adding a PCB holder. This tool keeps the board steady during the rework process. Without it, you might find yourself fumbling, risking misalignment. Remember, patience is vital. Even with the right tools, mistakes happen. Learning from these errors can significantly improve your skill over time. Engaging in troubleshooting sessions can enhance your rework techniques and bring knowledge to future projects.

Step-by-Step Guide to BGA Component Removal

Removing a BGA component can be challenging. Begin by gathering the right tools. You'll need a hot air rework station, soldering iron, and an appropriate desoldering wick. Ensure your workspace is clean. A cluttered area can lead to mistakes during the removal process.

Start by applying flux to the solder joint areas. This helps the solder flow better when heated. Use the hot air tool to evenly distribute heat around the BGA. Be cautious not to overheat any surrounding components. Watch for signs that the solder has melted. This is the right moment to gently lift the BGA.

Sometimes, parts refuse to come off. This could be due to uneven heating. You might let patience guide your actions. Reflect on the process if you encounter difficulties. Adjust the heat settings, or try a different angle. Remember, not every attempt will be perfect, but each effort can teach valuable lessons.

Techniques for Successful BGA Soldering and Reflow

When it comes to successful BGA soldering and reflow, understanding the process is crucial. One key technique is the use of preheating. Preheating the PCB before soldering helps to prevent thermal shock. It allows for a more even heat distribution. Aim to reach the board to around 100°C before starting. This simple step can significantly improve solder joint quality.

Another critical aspect is controlling the reflow profile. Make sure to adjust the temperature settings according to the specific solder paste used. A common mistake is rushing the process. Quick temperature increases may lead to defects such as tombstoning or cold joints. Monitor the time spent at each temperature stage closely.

For effective BGA rework, consider using a microscope. This helps in accurately positioning the BGAs during the process. Inspecting under magnification can reveal subpar solder joints early. Always remember that attention to detail is paramount. It's easy to overlook a small flaw that may lead to future failures. Diligence in the soldering process pays off.

Top BGA Rework Station Tips for Successful PCB Repair

Tip Description Tools Required Expected Outcome
Clean Surface Ensure the PCB is free of contaminants and oxidation prior to rework. Isopropyl alcohol, lint-free wipes Improved solderability and bond strength.
Proper Heating Use controlled heat settings according to component specifications. Hot air rework station, thermocouple Minimized risk of damage to components.
Solder Paste Application Apply solder paste evenly on the pads before placement. Solder paste, applicator Ensures adequate solder for BGA connections.
Use Stencils Employ stencils for consistent paste application. Solder paste stencil, push tool Uniform application of solder paste.
Check for Alignment Ensure BGA is properly aligned before soldering. Optical alignment aids Accurate placement for effective soldering.

Post-Rework Testing and Inspection for Quality Assurance

Post-rework testing and inspection are crucial for ensuring high-quality PCB repairs. A recent report shows that up to 30% of reworked PCBs fail initial testing. This highlights the need for effective inspection practices. Implementing rigorous testing procedures can significantly reduce defects. Techniques such as X-ray inspection and thermal imaging are often employed to check for hidden solder joint failures.

Visual inspections are still vital. They can catch visible flaws that automated systems might miss. Using magnification tools allows technicians to spot even the smallest defects. However, relying solely on visual checks can lead to oversights. Regular training for staff is essential. According to industry data, companies that invest in training experience a 25% reduction in error rates.

Quality assurance should never be an afterthought. Conducting tests after rework minimizes the risk of defective products reaching customers. A balanced approach combining advanced technology and skilled manual inspections is necessary. Overlooking post-rework testing can damage a company's reputation. Emphasizing these practices ensures long-term success in PCB repair.

Post-Rework Testing and Inspection for Quality Assurance