2025 How to Build Your Own DIY Pick And Place Machine for Electronics
Building a DIY Pick And Place Machine has become increasingly popular among electronics enthusiasts and professionals alike. As technology advances, the demand for precision and efficiency in assembling electronic components grows, and a DIY solution can often provide the ideal balance between cost and functionality. According to renowned robotics expert Dr. Emily Chen, "Creating your own DIY Pick And Place Machine empowers you to customize your assembly process, which is often the missing piece for hobbyists looking to scale their projects."
In this guide, we will explore the essential steps and considerations for designing and building your very own DIY Pick And Place Machine. From selecting the right materials and components to understanding the assembly process, we will delve into the intricacies of this fascinating project. Whether you're a seasoned engineer or just starting out in the world of electronics, this article will provide valuable insights to help you embark on your DIY journey. Embrace the challenge and discover how a DIY Pick And Place Machine can enhance your electronic assembly experience.
Understanding the Basics of Pick and Place Machines in Electronics
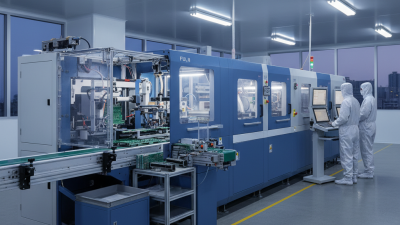
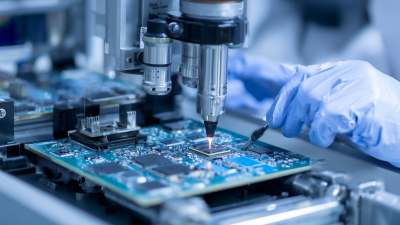
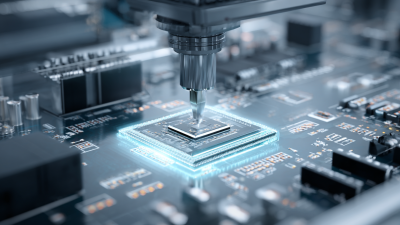
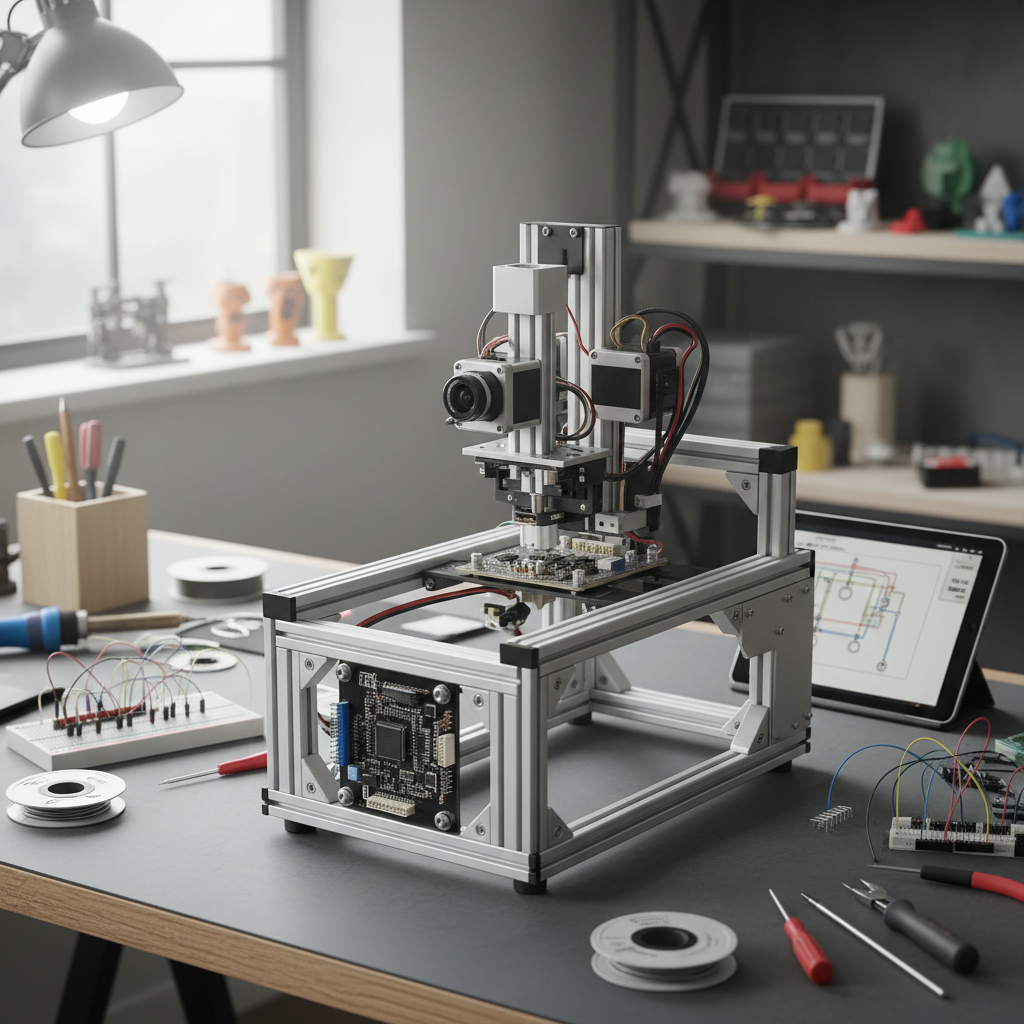
In the realm of electronics manufacturing, pick and place machines play a pivotal role in automating the assembly process. These machines are designed to precisely position electronic components onto printed circuit boards (PCBs) with high accuracy and speed. At their core, pick and place machines utilize robotic arms equipped with suction cups or grippers to pick components from a feeder and place them onto designated spots on the PCB, significantly enhancing efficiency compared to manual assembly.
Understanding the basics of these machines begins with recognizing their key components: the vision system, which identifies the orientation and position of components, and the placement mechanism, which ensures accurate positioning. Additionally, the control software is crucial as it orchestrates the entire operation, allowing for programming that determines the sequence of component placement. By grasping these fundamental principles, hobbyists and professionals alike can appreciate the intricacies involved in building their own DIY pick and place machine, paving the way for more personalized and cost-effective solutions in electronics assembly.
Essential Components Needed for Your DIY Pick and Place Machine
Building your own DIY pick and place machine for electronics can be an exciting yet challenging project. The essential components you’ll need include a robust frame, precise stepper motors, a reliable controller, and a vision system for component alignment. According to industry reports, the global market for automated assembly equipment is projected to reach $25 billion by 2025, highlighting the importance of such machines in modern electronics manufacturing.
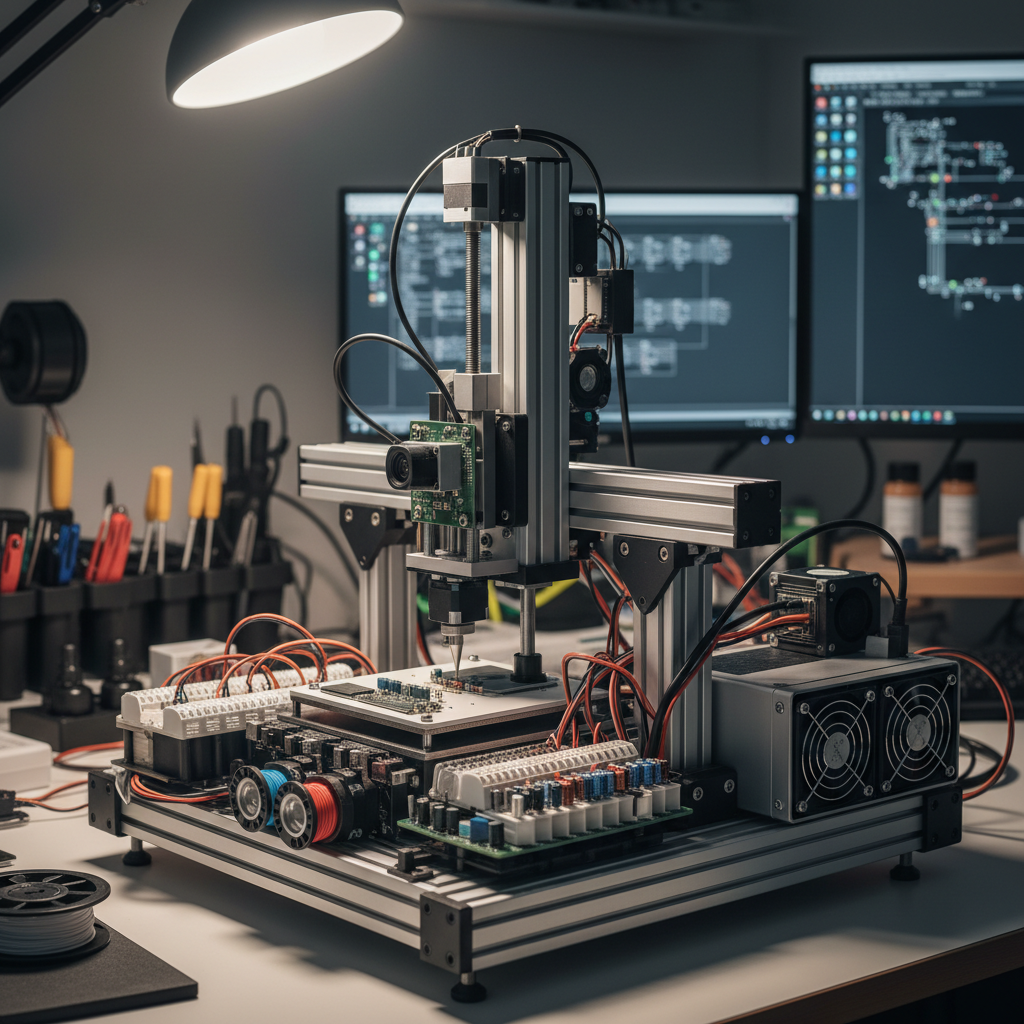
When selecting components, opt for high-torque stepper motors to ensure precise movements. Additionally, a good controller, such as an Arduino or Raspberry Pi, can simplify the programming process, allowing for intricate motion control. Incorporating a camera system will not only improve placement accuracy but also enhance the machine's adaptability for various component sizes and types. Tips: Always test your machine with various components to calibrate the vision system effectively.
Furthermore, consider using open-source software to drive your pick and place machine. This could significantly reduce development time and costs, making it accessible for hobbyists and small businesses. Integrating a vacuum nozzle designed for specific sizes of electronic components will further enhance the efficiency of your DIY setup. Tips: Regularly maintain and upgrade your components to keep your machine running at peak performance, adapting to new technologies as they emerge in the rapidly evolving electronics landscape.
Step-by-Step Guide to Assembling Your Custom Pick and Place Setup
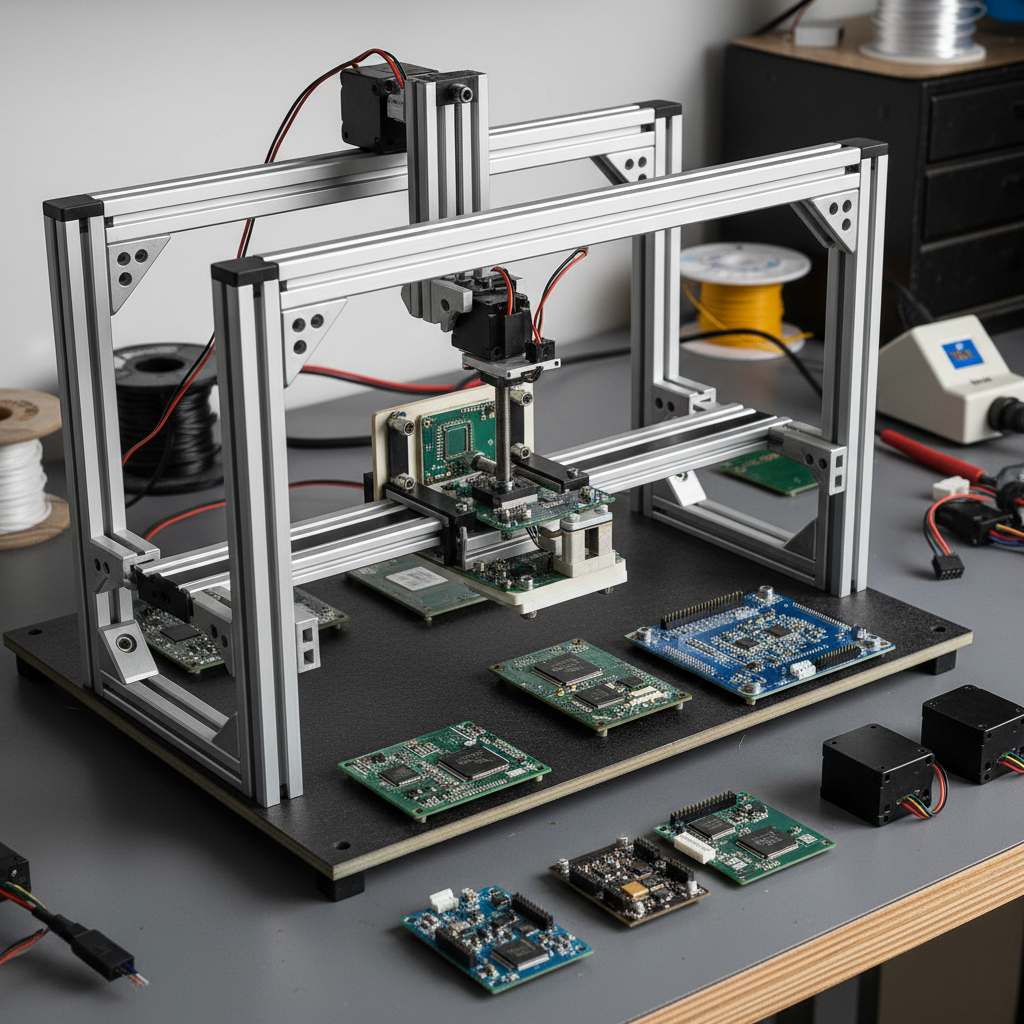
Building your own DIY pick and place machine can be an exciting project that enhances your electronics assembly skills. In this step-by-step guide, we will delve into the essential components you need to assemble your custom pick and place setup. The first step involves selecting a suitable frame. This could be constructed from aluminum extrusions or robust plastic materials that can support all moving parts without wobbling. Ensure that the dimensions can accommodate the size of the PCBs you plan to work with.
Next, focus on the precise placement mechanisms. You will need to incorporate a combination of stepper motors for movement along the X, Y, and Z axes. Carefully calibrating these motors to allow for accurate component placement is critical. Additionally, integrating a camera or an optical sensor will help in identifying the exact locations for component assembly. Finally, don’t overlook the importance of the software component—select an open-source platform that allows programming the machine to recognize different placements and coordinates. By following these steps, you will create a functional and efficient DIY pick and place machine tailored to your electronic projects.
Programming Your Pick and Place Machine for Optimal Performance
Programming your DIY pick and place machine for optimal performance is a critical aspect that can significantly enhance its efficiency and accuracy. According to a recent industry report by IPC, automation in PCB assembly can increase production output by up to 50% while minimizing errors by 30%. To achieve such improvements, careful attention must be given to the programming of your machine. This involves selecting the right software, configuring motion algorithms, and ensuring that the placement accuracy of components meets the required standards.
Using popular open-source software like Arduino or Raspberry Pi, hobbyists can take advantage of customizable coding options that allow for precise control over pick and place operations. It's essential to implement real-time feedback loops to adapt the machine's performance dynamically. A study from the Association for Advancing Automation (A3) suggests that having a closed-loop control system can improve the assembly process's reliability and precision, reducing the total cycle time per assembly. Integrating such features not only maximizes your machine's capabilities but also positions you to compete effectively in a growing market where efficiency is paramount.
Tips for Testing and Troubleshooting Your DIY Electronic Assembly Machine
Building a DIY pick and place machine can significantly streamline your electronic assembly process, but proper testing and troubleshooting are crucial to ensure optimal performance. According to a report by the IPC (Institute for Printed Circuits), nearly 40% of assembly line downtime is attributed to machine malfunctions and improper setups. This statistic underscores the importance of rigorous testing protocols, allowing you to identify and address potential issues before they escalate into significant challenges.
To effectively troubleshoot your DIY machine, start by conducting initial tests that include calibration of the pick and place arms and verification of the placement accuracy. The NEMI (National Electronics Manufacturing Initiative) emphasizes that achieving a placement accuracy of ±0.05 mm is vital for high-density PCB layouts. Additionally, regular software updates and proper component handling techniques can further enhance machine reliability. Monitoring factors like vacuum pressure and alignment can help mitigate common hurdles, ensuring that even in a DIY setting, your machine operates efficiently and with precision, replicating the effectiveness seen in commercial models.
2025 DIY Pick And Place Machine Performance Metrics